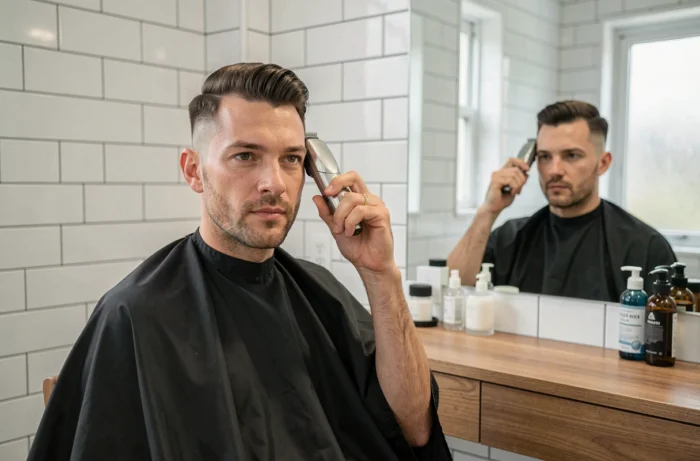
When attempting a skin fade alone in front of the bathroom mirror, the first problem isn’t the cutting technique. It’s visibility. Without sufficient lighting and a good angle of view on the back of the head, you create invisible lines in the moment, but glaringly obvious in daylight.
Lighting and Mirrors: The True Prerequisite for a Home Skin Fade
Video tutorials rarely show the complete setup of the barber. In a salon, the light is frontal, powerful, and the professional sees the entire head effortlessly. At home, you often work with a ceiling light that casts shadows on the temples and nape, exactly where the fade needs to be the cleanest.
The setup that changes everything: two mirrors facing each other with strong side lighting. You place a large mirror in front of you and a handheld mirror behind, slightly tilted. The goal is to see the occipital area (the back of the head, between the nape and the crown) without twisting your wrist. A task lamp positioned at ear height reveals the lines that the ceiling light masks.
Successfully achieving a skin fade at home relies as much on this visual preparation as on handling the clippers. Without it, you correct blindly and end up shaving too high.
Clippers and Guards: Gradually Lowering to Avoid Gaps
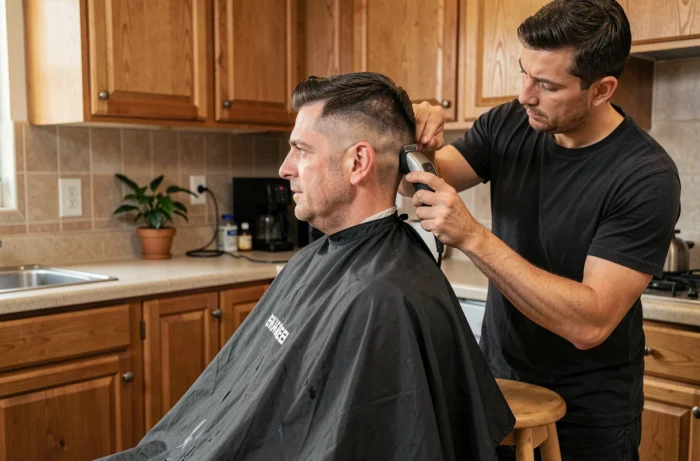
The classic mistake is to place the shortest guard directly on the temples and then try to fade upwards. You end up with a sharp line between two lengths, not a fade. The method that works solo is the opposite: start with a longer guard than expected and gradually go shorter.
The Principle of Successive Steps
You start with a medium guard over the entire area to be faded. Then you lower by one notch, but only on the lower half of that area. You lower again on the last third, close to the skin. Each pass covers a narrower band than the previous one.
- First pass with an intermediate guard over the entire side area, from the bottom up to the desired fade line
- Second pass one notch shorter, stopping lower (about two-thirds of the faded area)
- Third pass with the shortest guard or no guard, limited to the last centimeter above the skin
- Final pass to skin (clippers without guard, lever open then closed) on the lower edge, temples, and nape
Between each step, run your hand over the area to feel for length breaks. The touch detects what the eye misses in the mirror. If you feel a noticeable bump under your fingers, you go over it again with the clippers while slightly tilting the lever.
The Role of the Clippers’ Lever
The side lever on the clippers (found on most motor models) allows for half-lengths between two guards. It is this lever that creates the fade, not just the change of guard. You work with the lever open for a slightly longer cut, then closed to shorten by half a notch. This micro-adjustment is key to erasing the lines of demarcation.
Areas Not to Touch Alone: Contours and Hairline
Recent guides clearly distinguish what can be done solo from what should be left to the barber. The side fade and nape are accessible with patience. The hairline and precise contours around the ears are another matter.
Fiddling with the hairline alone exposes you to very visible asymmetries. You don’t have the necessary distance to draw a regular contour above the forehead. A line too high on one side is immediately noticeable, and the only possible correction is to raise the other side, which pushes back the hairline.
For the ear contours, the problem is mechanical: you need to fold the ear with one hand and guide the clippers with the other while watching the mirror. Feedback varies on this point, but most people who practice home fading end up entrusting the finishing touches to a barber once a month.
Frequency of Touch-Ups for a Homemade Skin Fade
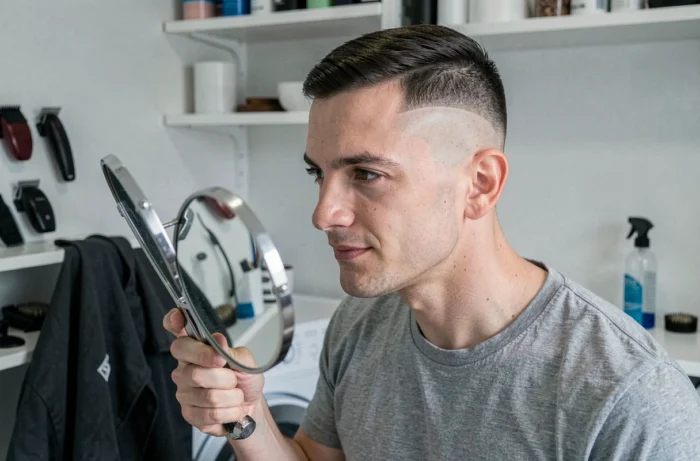
A skin fade loses its sharpness much faster than a classic cut. The shaved area grows back in a few days, and the soft transition between skin and short hair disappears as soon as the regrowth reaches a uniform length.
A skin fade requires frequent touch-ups to maintain its neat appearance. We’re talking about maintenance every five to ten days on the shortest areas. It’s a real time commitment, and that’s why many tutorials present home fading as a quick touch-up between barber visits, not as a complete replacement.
To space out the touch-ups, one option is not to go completely to skin but to keep a very short guard on the lower area. The fade is less dramatic, but the regrowth remains uniform longer, and small connection errors are less noticeable.
Equipment Suitable for Home Fading
Not all clipper models are equal for fading work. The criteria that really matter for a solo skin fade:
- A progressive adjustment lever (not just clip-on guards), necessary for half-lengths
- A blade that cuts close without irritating the skin, especially on the temples and nape where the skin is thin
- A powerful enough motor to avoid snagging in thick hair, which creates unintentional lines
A fine-toothed comb and hairdressing scissors complete the kit for working on the top of the head, where clippers alone give too uniform a result.
A homemade skin fade is an exercise in patience, not virtuosity. The first two or three attempts mainly serve to understand how your own clippers react on each area of the head. Keeping a safety guard during the first tries avoids drastic corrections, and accepting to leave the finishing touches to a professional remains the best guarantee of a clean result.